Our lights are up and running for the 2020 season. Our lights will run 5pm - 9pm daily through New Years Eve.
Blogging ain't easy....and neither is putting up Christmas Lights
I realize the blog has gone a little dark lately….pun intended. Over the last few weeks I have been consumed with the installation of the display. As of today (11/20/18) the display is 99.9% finished after about 130 man hours of work. The 0.1% this is left is things that I would like to tighten up, but to be honest if I didn’t get them done I don’t think anyone would ever notice. This years display music is again going be broadcast on 87.9FM which is excellent because I will not have to change the “Tune To” signs. Our display will start on Friday November 23 at 5:30pm. After the 23 the display will run daily from 5pm - 9pm until New Years eve. We try to run the display in the rain / snow but sometimes mother nature wins and we end up turning the display off until everything can dry out. Be sure to follow our FaceBook Page to get last minute updates regarding the display hours and outages due to weather.
Adding more RGB garland.
This year I’m adding additional RGB garland to the display. Here are a few photos that I took tonight while working on them. I’ll add a more detailed post soon.

My shop floor is covered in pixels and garland.

I’m using Tyco multi pin connectors to connect to the controllers.
Updating RGB Wreaths
For the last few years I’ve used wreaths with RGB pixels on each window of our house that were controlled by SanDevices E6804 controllers. The E6804 has worked flawlessly but because of its size and the power supply size and weight I needed to put the controller enclosure on the ground. This configuration has always worked but one thing I didn’t like was the multi conductor cable that I used has white insulation that caused it to stand out when compared to the black and green wire that I use for other props. Besides the ugly white cable, the E6804 controllers were overkill for the number of pixels that are on each wreath.

My solution to the white cabling and overkill controllers is to use ESP Pixelsticks. The pixelsticks are much smaller and wireless….except for a power cord. Because of the small size of the pixelsticks I am able to mount them to the back of the wreath along with a small power supply.
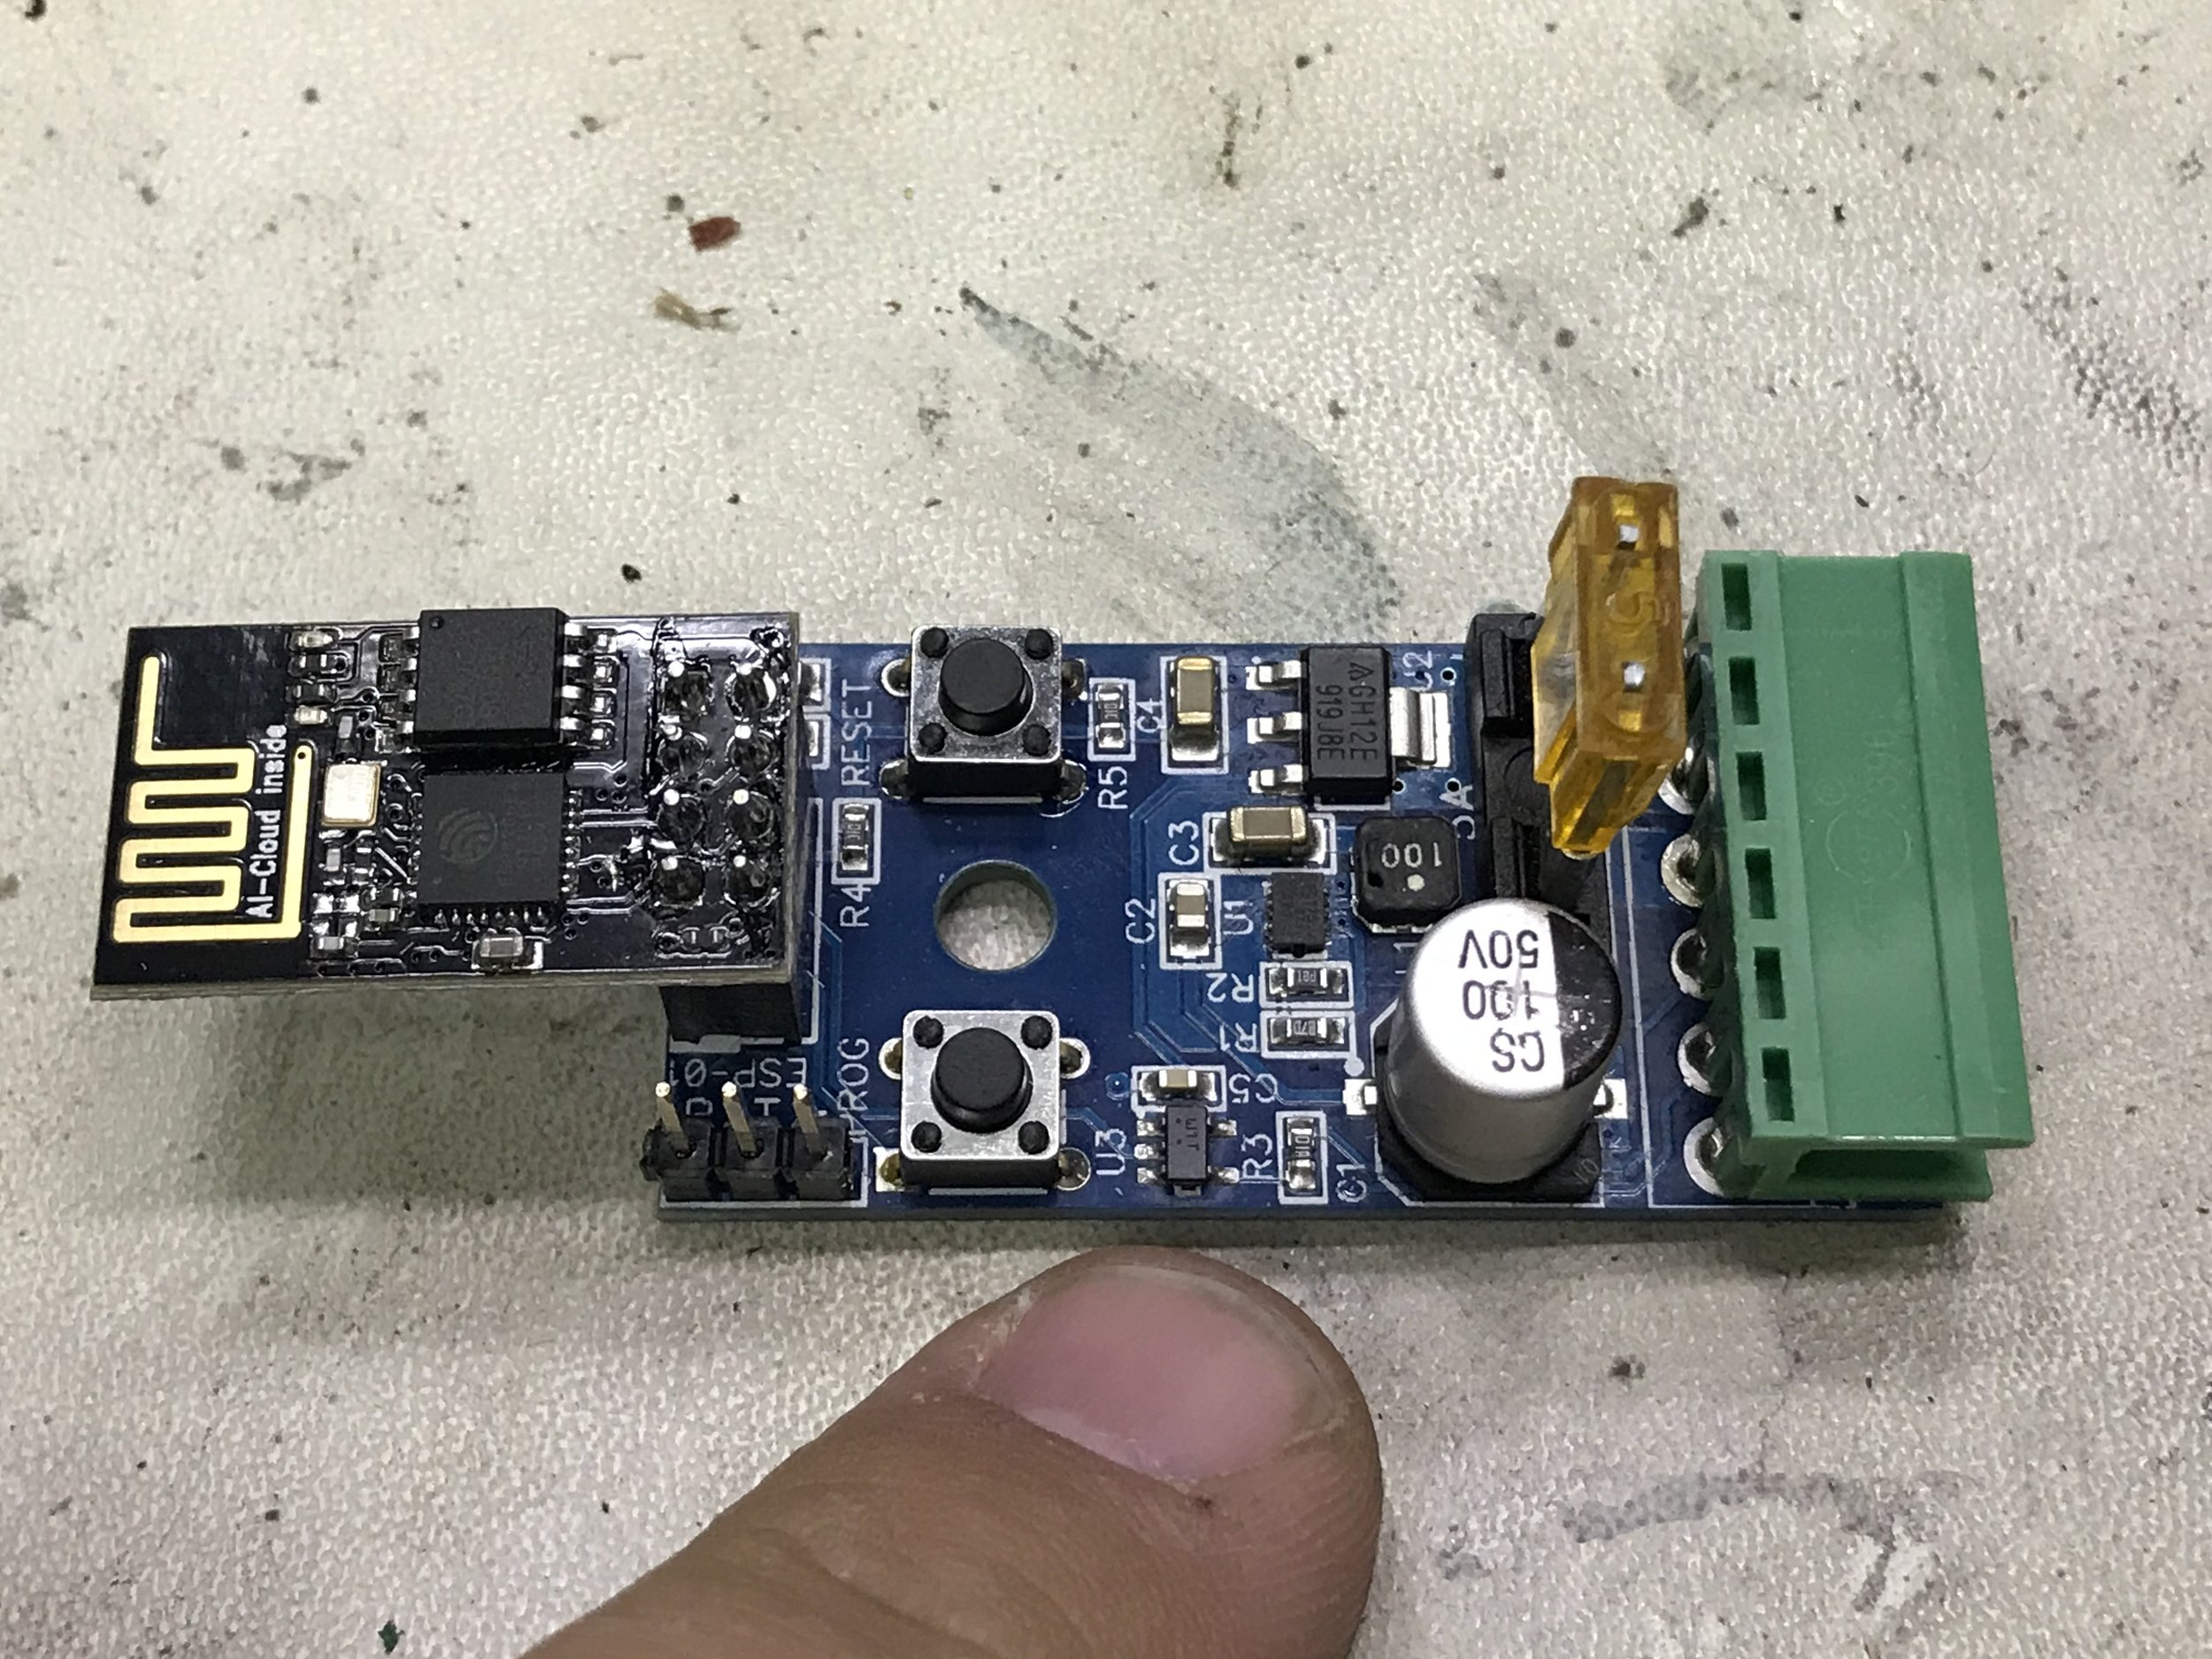
The conversion process took about 20 minutes per wreath and I have already began testing running all 11 wreaths together.
Leaping Light Arches - Mark II
In the summer of 2013 with the help of my brother in law I made my first leaping light arches. After 5 years of use I felt it was time to remake all five of them but sadly my brother in law was “unavailable” to help. The process of making the arches is pretty simple. I started by taking 1 inch PVC pipe and attaching it to a motor from a “tater twister” that I found on eBay.

I took a piece of sheet metal and fabricated a bracket in the shape of a U. Then I mounted it to the motor and then attached the other side to the pipe. Next I supported the middle and other end of the pipe using saw horses and pieces of High-density polyethylene (HDPE). I used the HDPE to support the pipe because it is very dense and smooth material and I wanted as little resistance while the pipe turned so to not put unneeded strain on the motor.

Once the pipe was supported I was able to start the tedious task of wrapping the lights around the pipe.
To start and stop the motor I used a household power strip as a simple on / off switch. Once I had a few feet of lights wrapped around the pipe I would turn off the motor and push the lights together. After repeating the process numerous times I was done.

Once the arches were all wrapped I worked on wiring them up. The arches are divided into 8 equal sections with each section requiring its own cord. To accomplish this I used SPT wire with female vampire plugs. Each section of lights plugs into a female vampire plug and then the SPT wires all runs back to single multi pin connector.


Each multi pin connector contains 16 pins…two for each of the eight sections on the arch. The main advantage of the multi pin connector is that for five arches I only have five connections to make as apposed to the forty connections that I had to make in the past.
Here is a short video of the arches running in my basement.
First post
Welcome to Christmas On Lincoln blog. I will “hopefully” be adding more posts soon.